A stencil is a mask that you lay down before painting, and after you paint, the pattern of the mask shows through. I’ll walk you through the basics of stenciling, how they work, what makes a good stencil, and tell you everything you’ll need before you get started.
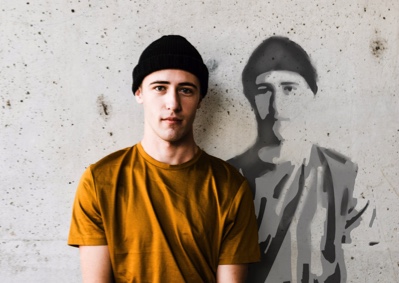
A two-color stencil consists of background and foreground. Image to stencil amounts to just finding the dark and bright areas of an image. You can paint the background a solid color (or leave it as it is) and then use just one stencil for the foreground. Any medium-to-dark color on a white or light background works well. Sometimes it's difficult to find an image that makes a good two-layer (or two-color) stencil. Simple logos and professional portrait photographs are good for two-color stencils. Two-color stencils are easiest to paint, because you don't have to line up one layer over another.
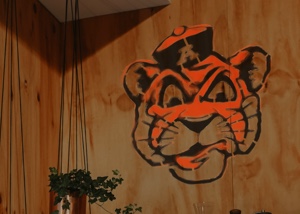
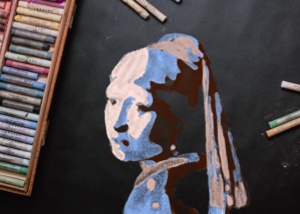
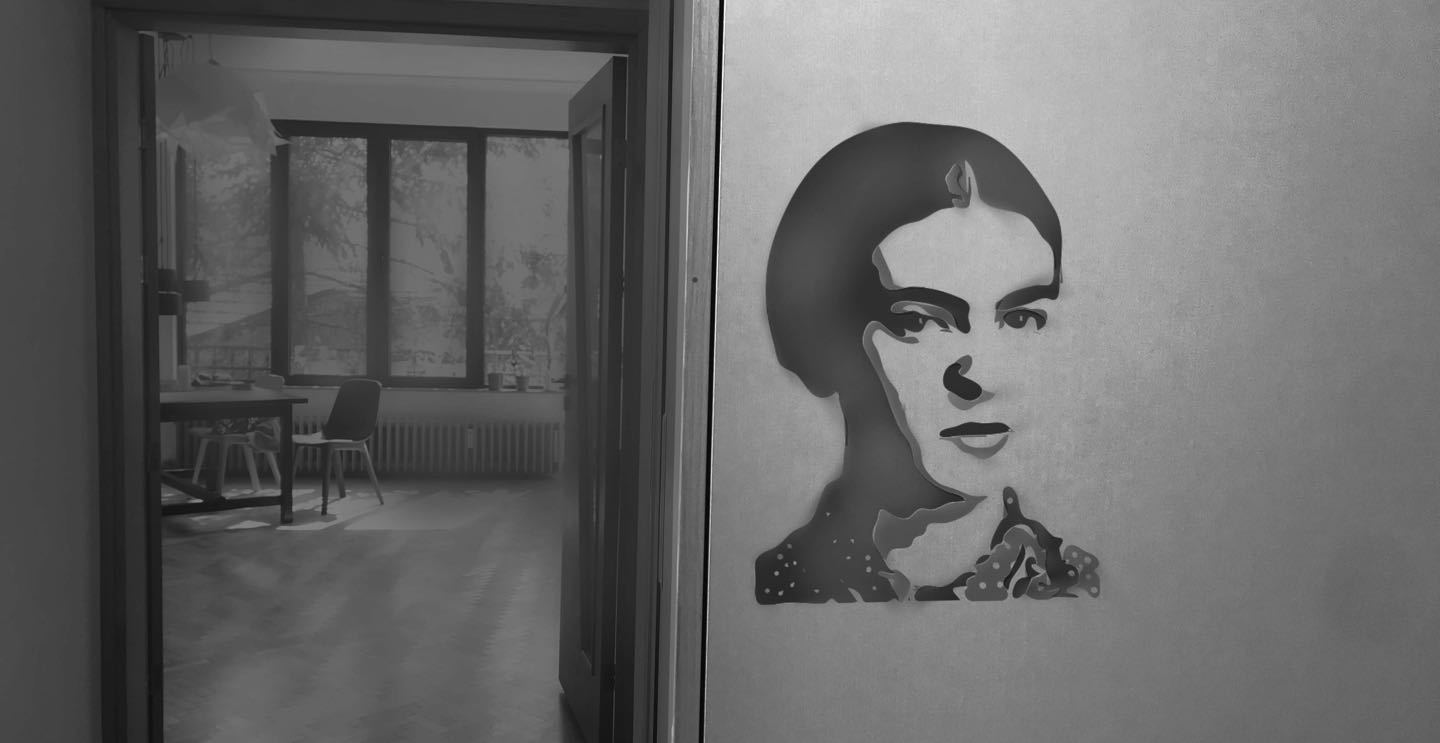
A three-layer stencil has a light, mid-tone and a dark layer. Stencils of faces or iconic objects work great as a three-layer stencil. You can use a light background, and paint your mid-tone stencil followed by your dark stencil. Or you can start with a mid-tone background, and paint a light stencil followed by the dark stencil. Create a three-color custom stencil to show more detail, shadow and outline for a figure, but without making so much work as painting a four- or five-layer stencil.
Stencils fall apart if they are not bridged correctly. Anywhere there is an island in your image, there needs to be at least one bridge. But with only one bridge for each island, your stencil would be flimsy and hard to use. A good stencil creator adds extra bridges in just the right places: to make the stencil durable and easy to paint.
Stencil multiple layers to build up layers of color and detail; with Bay Stencil you can take any picture to stencil. Use a stencil with more than three layers when you want to separate more than just a few tones or a few colors. For example, for a man holding an apple, you could have three shades of gray and one layer of red (for the apple). Multi-color stencils can be stunning but can also be more difficult to paint. Each layer must be lined up over the previous layers exactly, so that the lines and shadows in the image match up correctly.
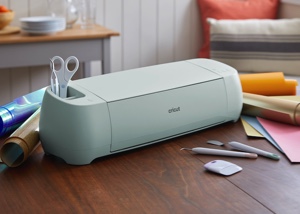
Download vector files to cut your stencil with a craft cutter like the Cricut Explore Air, the Silhouette Cameo or the Brother ScanNCut. With supported vector formats SVG, DXF, EPS and PDF, you can cut on any machine that accepts a vector file as input, like the GlowForge or the Muse Core.